Build a small automation from a blank canvas, one node at a time. Every morning it emails you the
conversations that arrived in the last day, each with a link to open it.
What you'll build
Your emails from yesterdayTo: you
Your September statement https://mail.google.com/mail/...
Team lunch on Thursday? https://mail.google.com/mail/...
Order 4471 has shipped https://mail.google.com/mail/...
A sample email with made-up subjects.
If you're in the beta
Set up once with Before you start, then open ScriptGlyph from your invitation. You'll deploy at the
end.
Your nodes can sit anywhere on the canvas. What matters is which nodes you add and how they're wired.
An event starts it
The orange node: a schedule, a menu item, a form being sent. Every script begins at one.
White wires set the order
Steps run one after another along the white wires, from each white arrow to the next.
Coloured wires carry values
The colour shows the kind of value: pink for text, blue for something from Google such as a Gmail
conversation.
Start a blank project
Choose New, then Blank project.
Click Untitled project at the top and type Morning email.
A blank project starts with an empty canvas. Building this one yourself shows how the parts fit
together. The finished project is also under New as the Morning email template, if
you'd like to compare.
Run it every morning
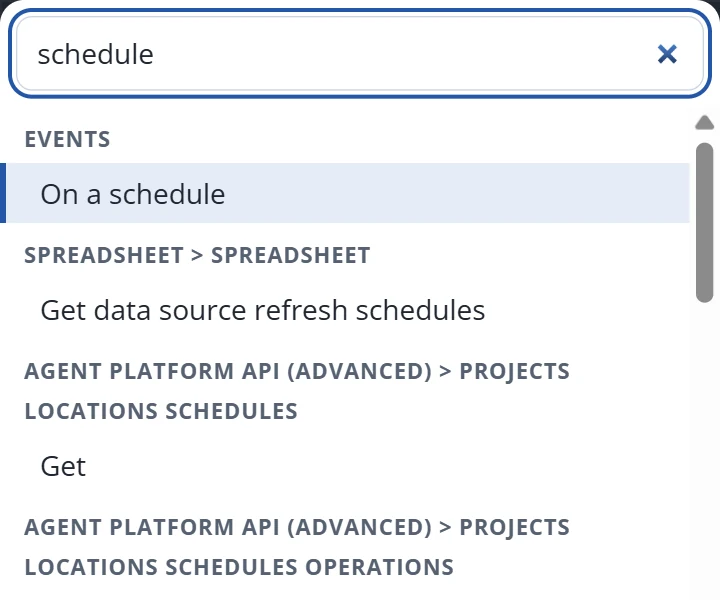
Right-click the canvas, or press Space, and type schedule. Choose On a schedule.
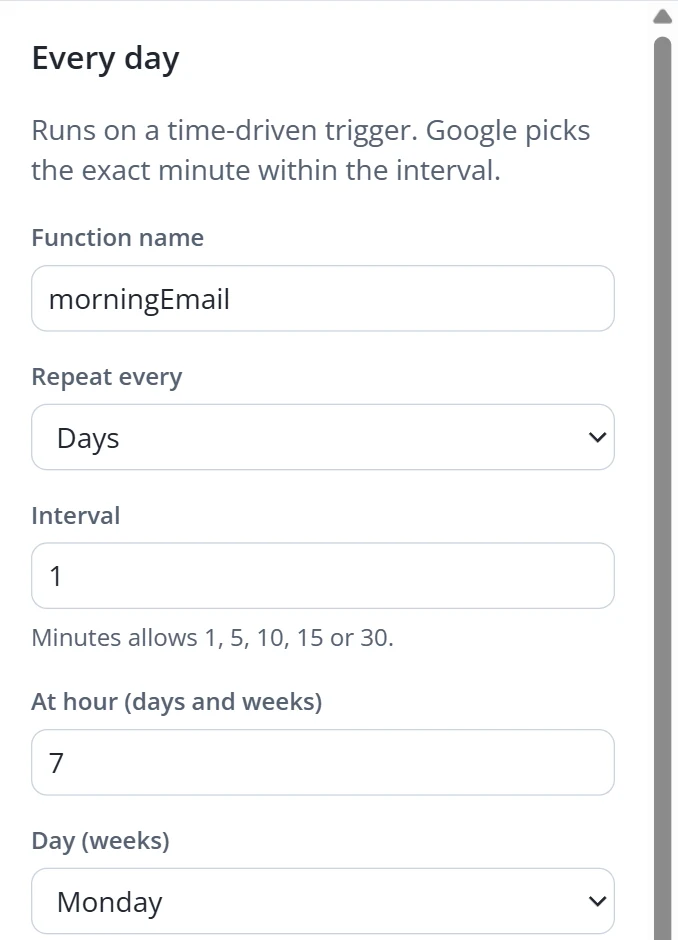
In the Details tab, set Function name to morningEmail,
Repeat every to Days and At hour to 7.
This is the event: it runs the script once a day with nobody at the screen. Google picks the exact
minute, so the email arrives between 7 and 8am. The function name is what the code calls this part,
and the node's title changes to Every day.
The node menuIts settings in Details
Every day
Hour
Minute
Day of week
Day of month
Month
Year
Time zone
Event
Screenshots from ScriptGlyph, with sample data. The graph is recreated from ScriptGlyph.
Find the last day's emails
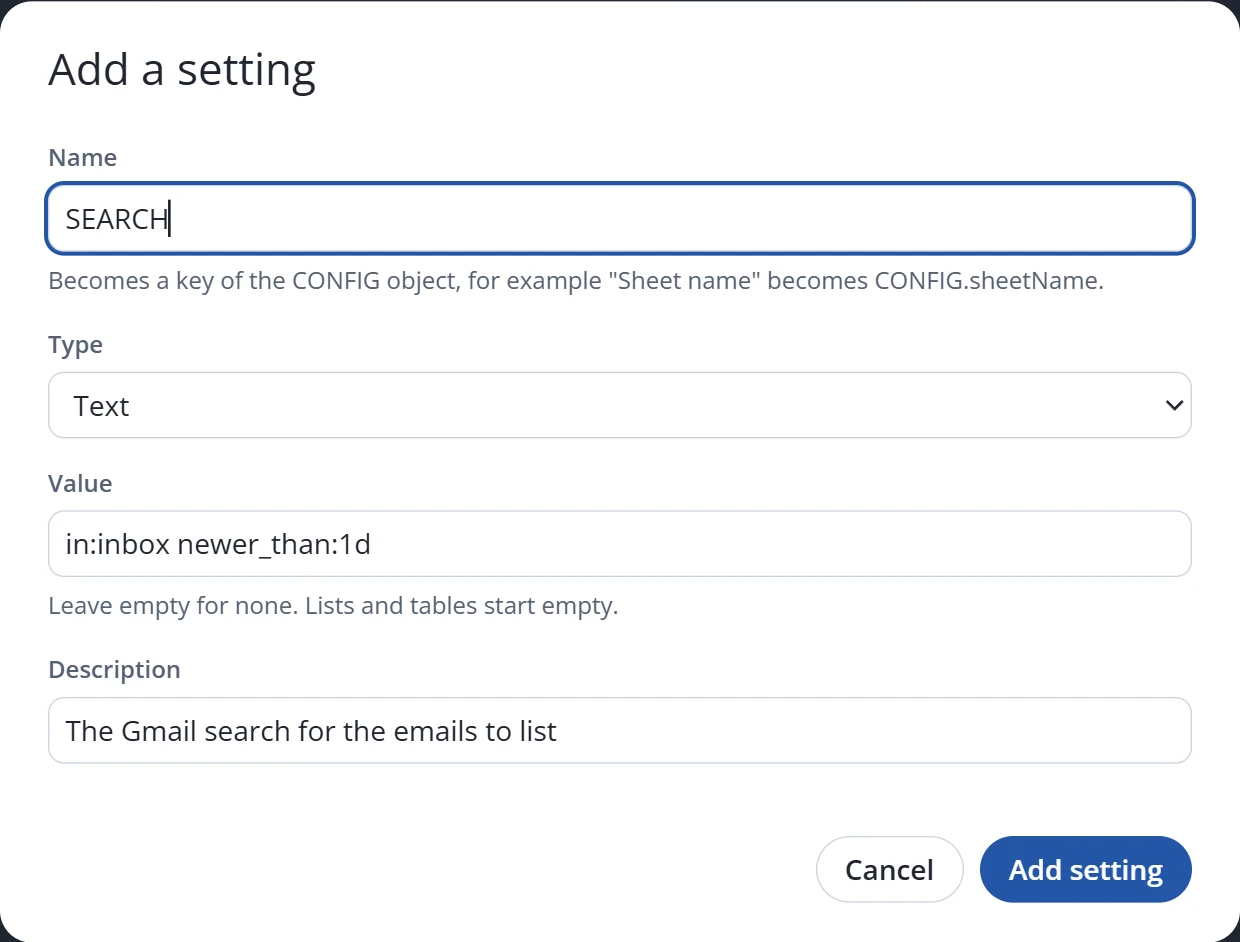
In the left panel, choose + next to Settings. Name it SEARCH,
leave Type as Text, set Value to
in:inbox newer_than:1d and choose Add setting.
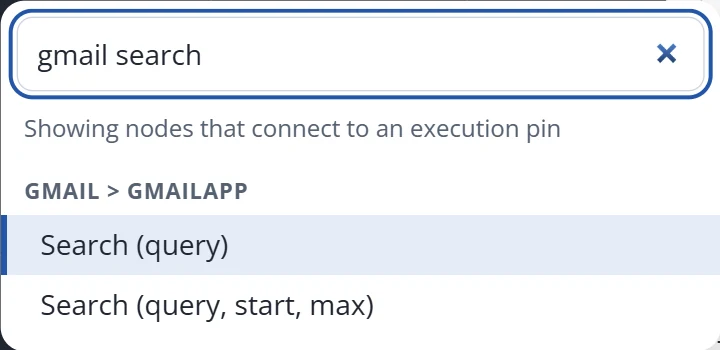
Drag from the white arrow at the top right of Every day to an empty spot. Type
gmail search and choose Search (query), under Gmail > GmailApp.
Choose Get next to SEARCH in the left panel, then drag from the new
SEARCH node's pin to Search's Query pin.
Dragging from a pin lists only the steps that can come next, and wires the new step in. A setting is
a value someone may want to change later without touching the graph; they'll find it in Project
settings. Its value is ordinary Gmail search, so you can try it in Gmail's search box first:
newer_than:1d means the last 24 hours.
Adding the settingThe menu after dragging from Every day
Every day
Hour
Minute
Day of week
Day of month
Month
Year
Time zone
Event
SEARCH
Search (query) Gmail > GmailApp
Query
GmailThread[]
Screenshots from ScriptGlyph, with sample data. The graph is recreated from ScriptGlyph; the
selected nodes are this step's.
Make a list to fill
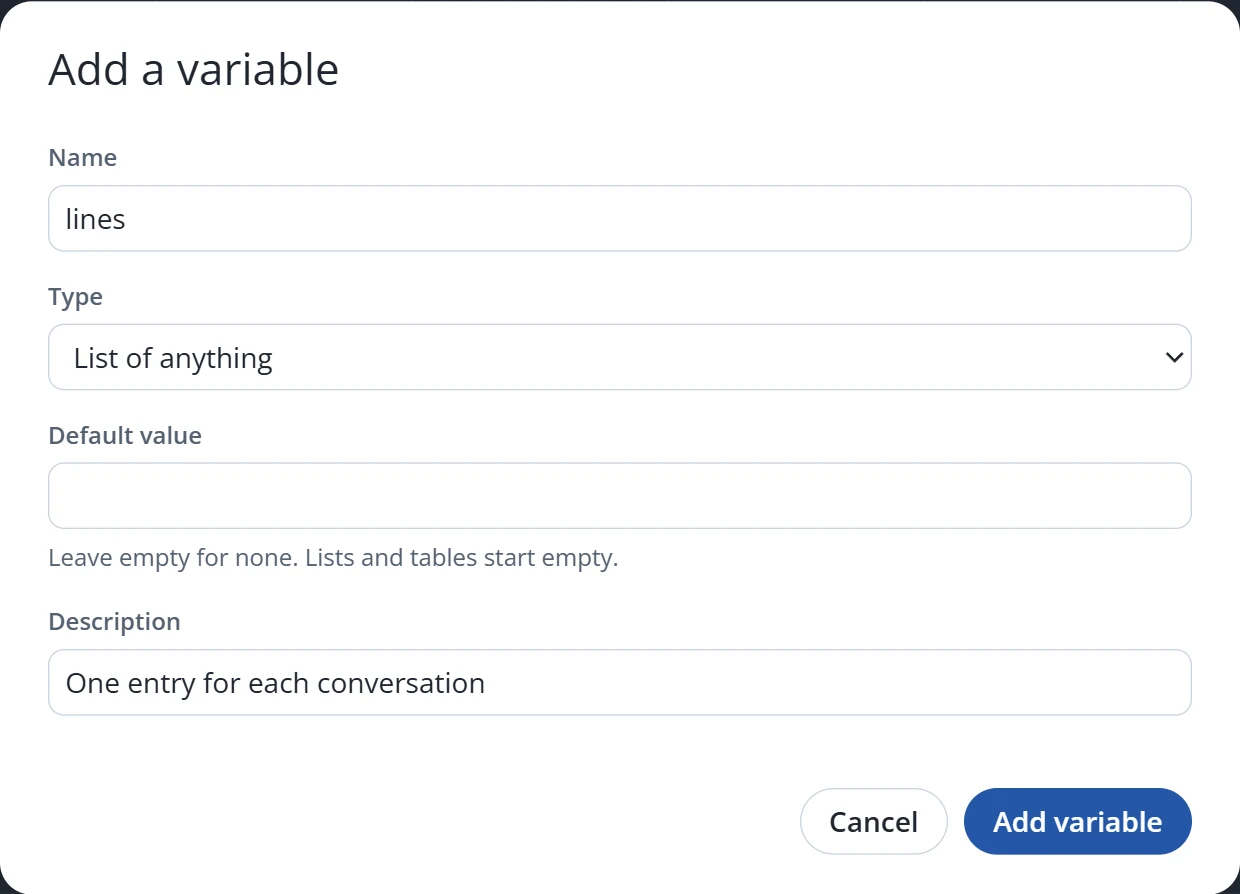
Choose + next to Variables. Name it lines, set
Type to List of anything and choose Add variable.
A variable keeps a value while the script runs. This list starts empty every morning; the next steps
add one entry for each conversation, and the last one sends them all at once.
Adding the variable
Go through each conversation
Drag from Search's white output arrow and choose For each loop.
If Search's GmailThread[] isn't wired to the loop's Array, drag
from one to the other.
Search gives a list of conversations, which Gmail calls threads; the square pin means a list.
For each loop runs whatever is on its Loop body once for every
conversation, then carries on from Completed.
SEARCH
Search (query) Gmail > GmailApp
Query
GmailThread[]
For each loop
Array
Loop body
Array element
Array index
Completed
Recreated from ScriptGlyph using sample data.
Get the subject and link
Drag from Loop body and choose Get first message subject, under
Gmail > GmailThread.
Drag from its white output arrow and choose Get permalink.
Both work on the conversation the loop has reached: ScriptGlyph wires
Array element into each GmailThread pin. If a wire is missing,
drag it yourself. A permalink is Gmail's own link to the conversation.
For each loop
Array
Loop body
Array element
Array index
Completed
Get first message subject Gmail > GmailThread
GmailThread
String
Get permalink Gmail > GmailThread
GmailThread
String
Recreated from ScriptGlyph using sample data.
Add a line to the list
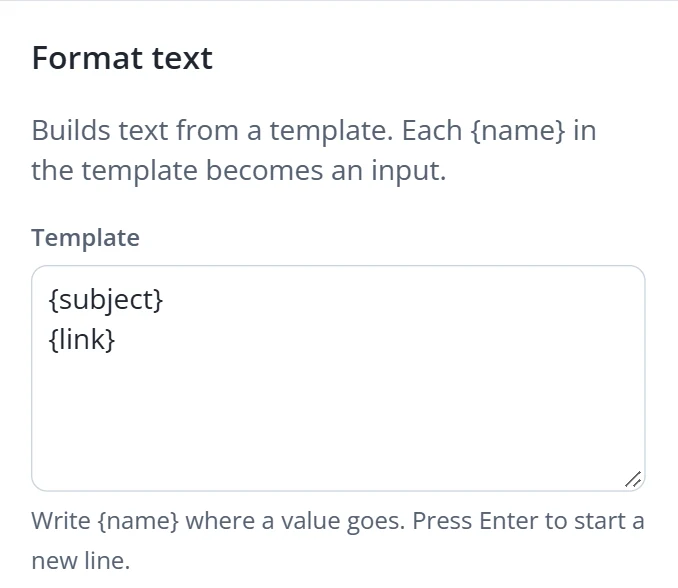
Right-click the canvas, type format and choose Format text. In Details, set
Template to {subject}, press Enter, type {link}, then
press Enter twice.
Wire Get first message subject's String to subject, and Get
permalink's String to link.
Drag from Get permalink's white output arrow and choose Add item. Choose
Get next to lines, wire it to Array, and wire Format text's
result to Item.
Each {name} in a template becomes an input, so each entry reads: the subject, the link,
then a blank line. Add item puts the entry on the end of the list.
The template in Details
Get permalink Gmail > GmailThread
GmailThread
String
lines
Add item
Array
Item
Format text
subject
link
Screenshot from ScriptGlyph, with sample data. The graph is recreated from ScriptGlyph.
Send it to yourself
Drag from the loop's Completed arrow and choose Get active user,
then drag from its white arrow and choose Get email.
Drag from Get email's white arrow and choose
Send email (recipient, subject, body). Wire Get email's
String to Recipient, and type Your emails from yesterday as the
Subject.
Choose Get next to lines again. Drag from its pin, choose
Join items, clear the Separator box and wire the result to
Body.
Completed runs once, after every conversation is in the list. Get active user is
whoever the script runs as, so the email goes to you without your address in the code.
Join items turns the list into one piece of text; each entry already ends with a
blank line, so the separator stays empty.
For each loop
Array
Loop body
Array element
Array index
Completed
Get first message subject Gmail > GmailThread
GmailThread
String
Get permalink Gmail > GmailThread
GmailThread
String
Get active user Base > Session
User
Get email Base > User
User
String
Get email Base > User
User
String
lines
Join items
Array
Separator
Send email (recipient, subject, body) Mail > MailApp
Recipient
SubjectYour emails from yesterday
Body
Recreated from ScriptGlyph using sample data.
Check your work
Open the Problems tab. It should say
"No problems. The project compiles."
Choose Organise to lay the graph out as the pictures show it.
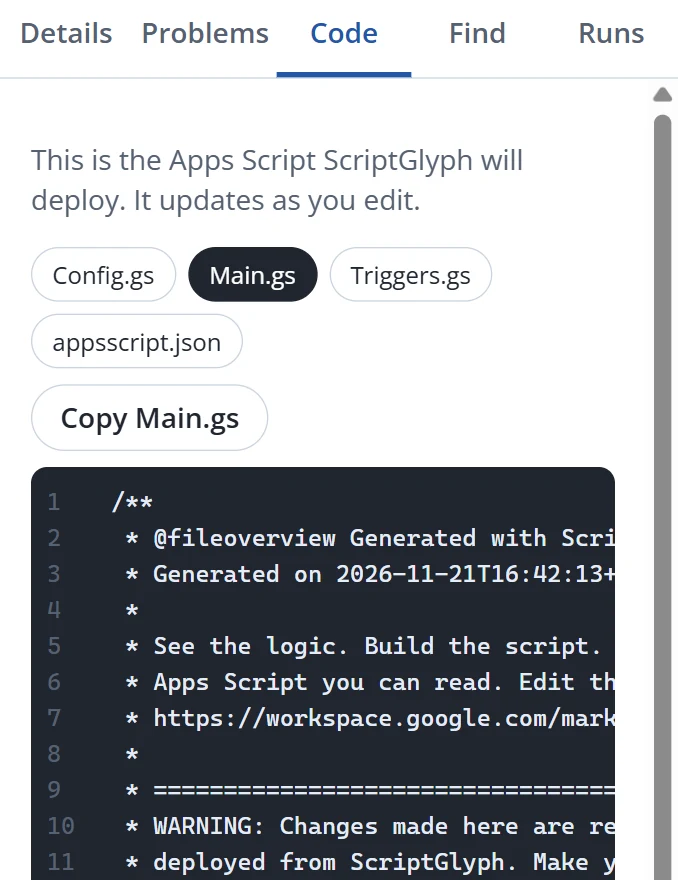
Open the Code tab and choose Main.gs.
The Code tab is the Apps Script your graph becomes, and it updates as you edit. Select a node to see
its line. Each node you added is one line or two below; SEARCH is in Config.gs.
The Code tab
/**
 * Runs on a schedule: every day at 07:00 (installable trigger).
 *
 * @param {GoogleAppsScript.Events.TimeDriven} e The time-driven event.
 */
function morningEmail(e) {
  const lines = [];
  const gmailThread = GmailApp.search(CONFIG.search);
  for (let index = 0; index < gmailThread.length; index += 1) {
    const gmailThread2 = gmailThread[index];
    const firstMessageSubject = gmailThread2.getFirstMessageSubject();
    const permalink = gmailThread2.getPermalink();
    lines.push(String(firstMessageSubject) + '\n' + String(permalink) + '\n\n');
  }
  const activeUser = Session.getActiveUser();
  const email = activeUser.getEmail();
  MailApp.sendEmail(email, 'Your emails from yesterday', lines.join(''));
}
Screenshot from ScriptGlyph, with sample data. The code is what ScriptGlyph generates for this
graph.
Deploy it
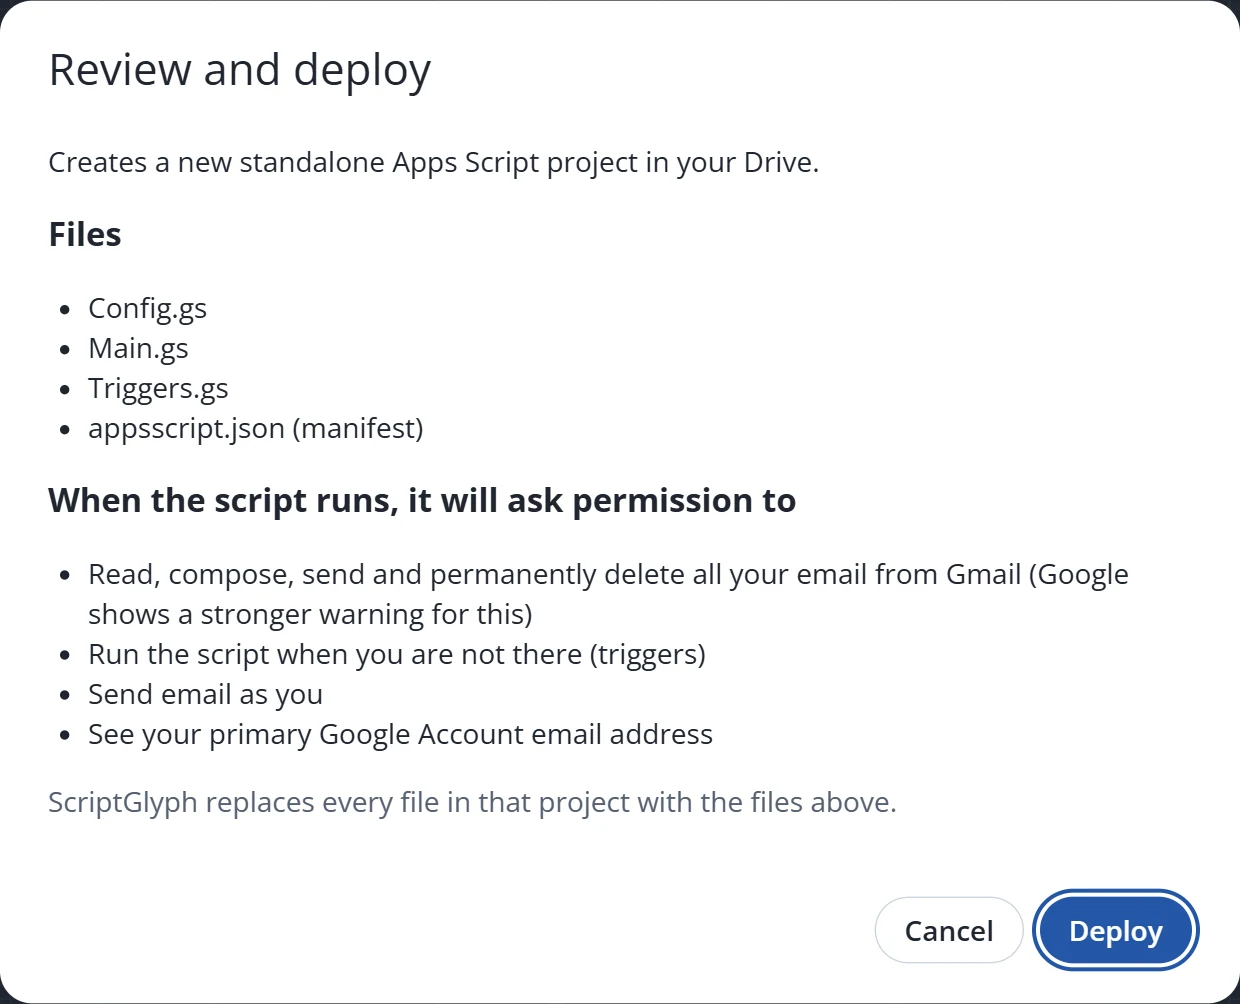
Choose Deploy and read Review and deploy: where the code goes,
its files, and the permissions it will ask for. Then choose Deploy.
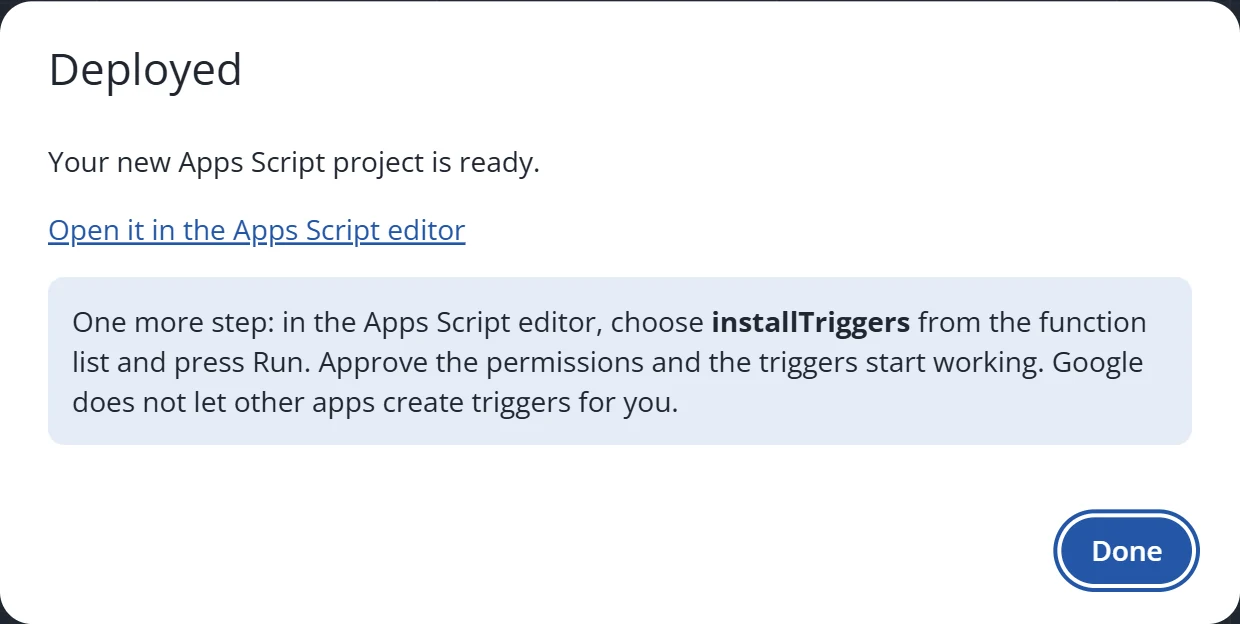
Choose Open it in the Apps Script editor.
In the Apps Script editor, choose installTriggers from the function list and press
Run. Approve the permissions.
To see it work now rather than at 7am, choose morningEmail and press Run.
Google doesn't let other apps create triggers, so installTriggers is the one step you do yourself.
The first time a new script of yours runs, Google says it hasn't verified the app: choose
Advanced and continue to your project.
Review and deployAfter deploying
The permissions the morning email asks for
When the script runs, it will ask permission to
What this script uses it for
Read, compose, send and permanently delete all your email from Gmail
Searching your inbox. Google's built-in Gmail service has no read-only permission, so
searching needs this one. The script only reads each conversation's subject and link. Google
shows a stronger warning for it.
Run the script when you are not there (triggers)
The daily run at 7am
Send email as you
Sending you the list
See your primary Google Account email address
Get active user, so the email comes to you
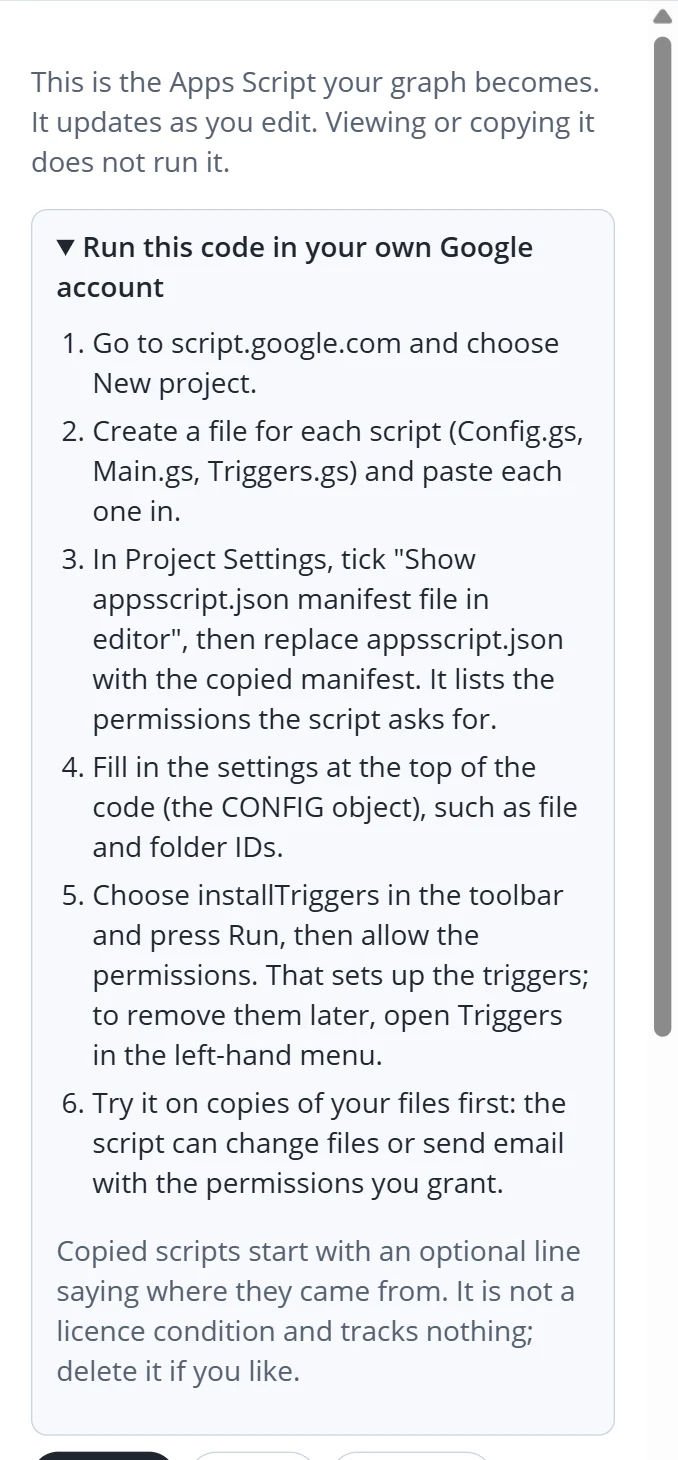
In the playground instead
From the ScriptGlyph playground
The playground can't deploy, so you copy the code instead.
Open the Code tab and choose
Run this code in your own Google account.
Follow its steps: a new project at script.google.com, a file for each script, then the
manifest.
The SEARCH setting is already filled in, in Config.gs.
Run installTriggers, approve the permissions, then run morningEmail to test it.
If the email doesn't arrive
Nothing by 8am
Check installTriggers ran: in the Apps Script editor, Triggers in the left-hand menu should list
morningEmail. In ScriptGlyph, the Runs tab shows each run and why one failed.
The email is empty
Nothing matched the search in the last day. Try the same search in Gmail's search box.
Your organisation blocks it
A Google Workspace admin can stop apps reading Gmail. Ask them, or try it with a personal account.
"Sorry, unable to open the file at present"
Google opened ScriptGlyph under a different account. See
Before you start.
Where next
Change the search
Edit SEARCH in Project settings: is:unread for unread mail only, or
from: and an address for one sender.
Start from a template
Choose New to open a ready-made project, such as form notifications or document generation, and see
how it's built.
Open a script you have
Choose Open, then Open an Apps Script project, to see a script as a graph.
How importing works